Google Play Console API access setup
Create a service account, enable the Google Play Android Developer API and invite it in Play Console. You don’t need a Setup → API access page: the service account is invited under Users and permissions.
Prerequisites
- Active Google Play Developer Account with Owner or Admin role
- Google Cloud Platform account (free tier is sufficient)
- Your app must be published or in testing on Google Play
Process Overview
Setting up Google Play API requires two main components:
Google Cloud Setup
Create a service account and generate credentials
Play Console Link
Grant API access to your service account
Part 1: Google Cloud Platform Setup
Create or Select a Google Cloud Project
Access Google Cloud Console and create a new project or select an existing one.
Open Google Cloud Console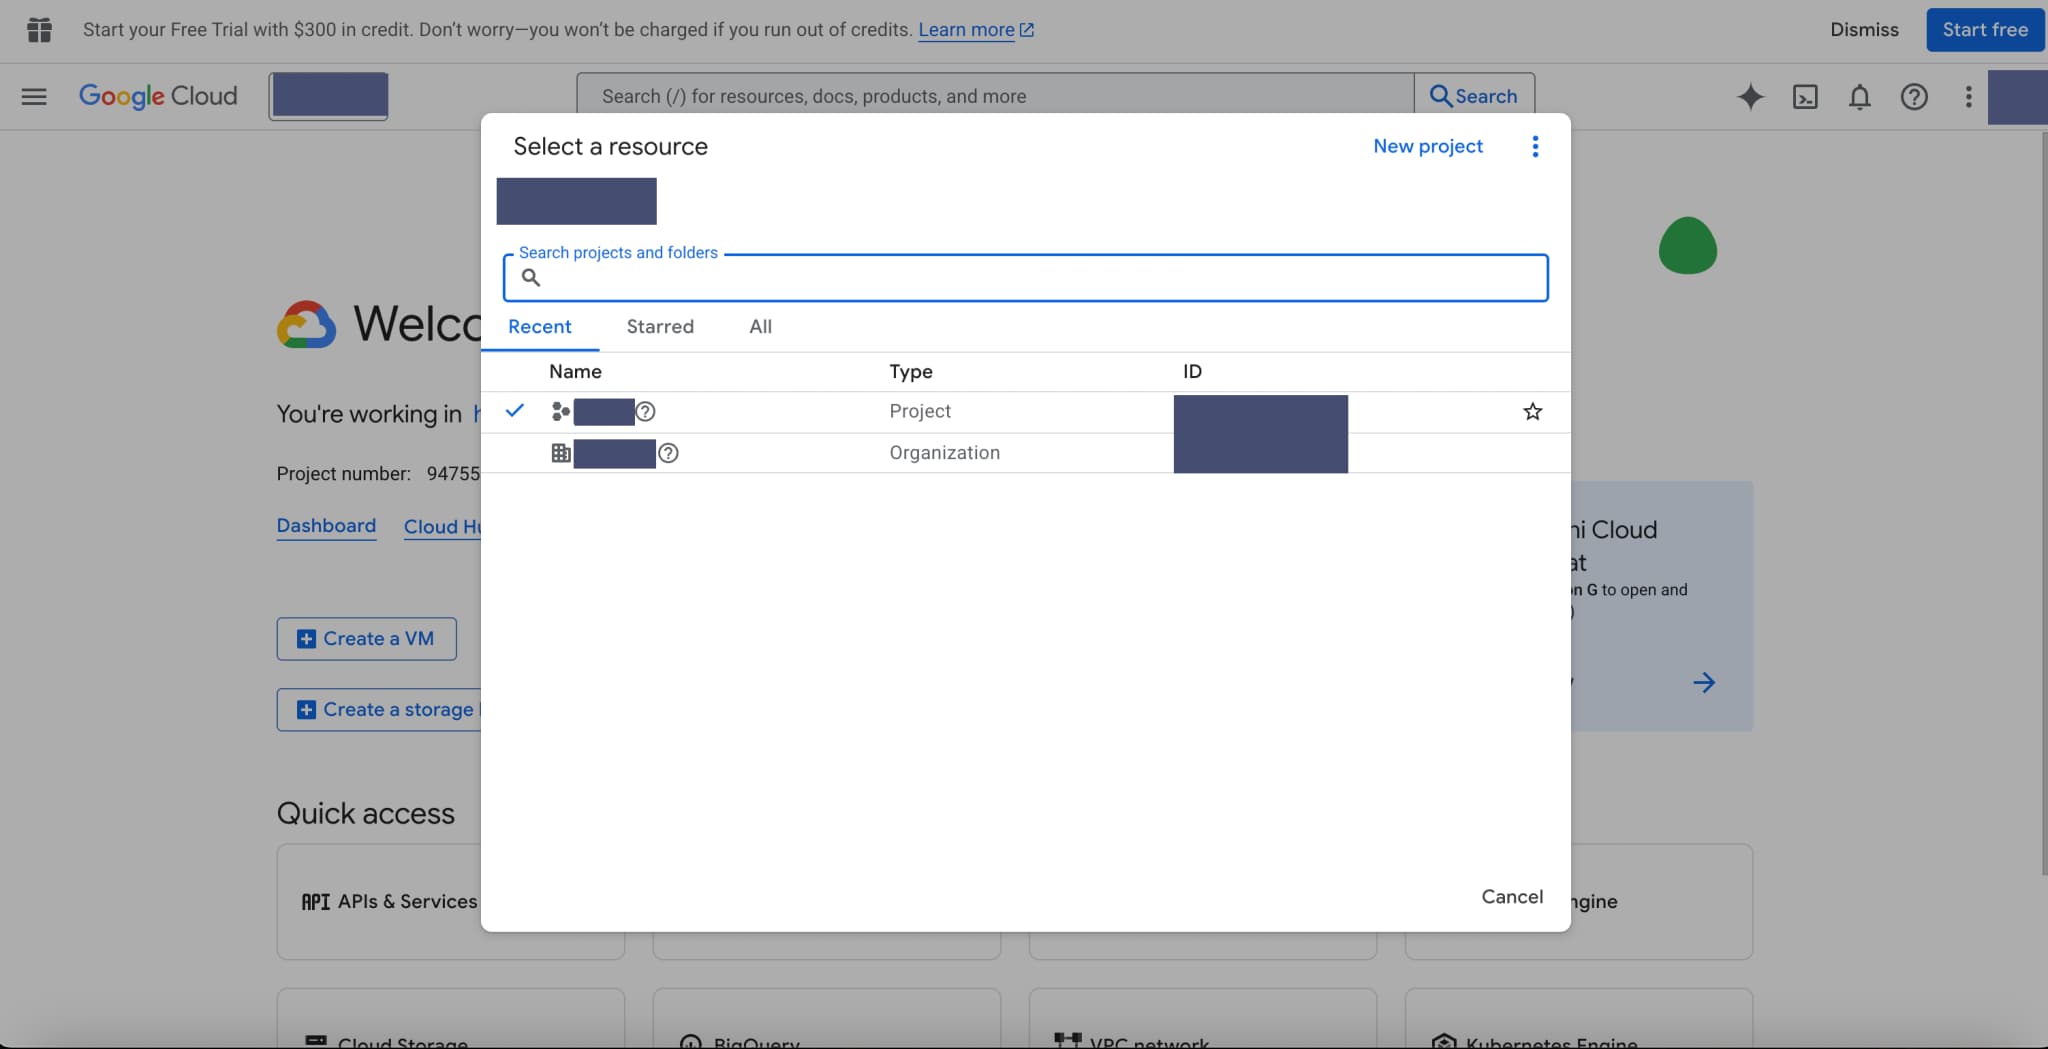
Enable Google Play Android Developer API
- 1Navigate to "APIs & Services" → "Library" in the sidebar
- 2Search for "Google Play Android Developer API"
- 3Click on the API and then click "Enable"
Important: Make sure you enable the correct API - "Google Play Android Developer API" not just "Google Play API"
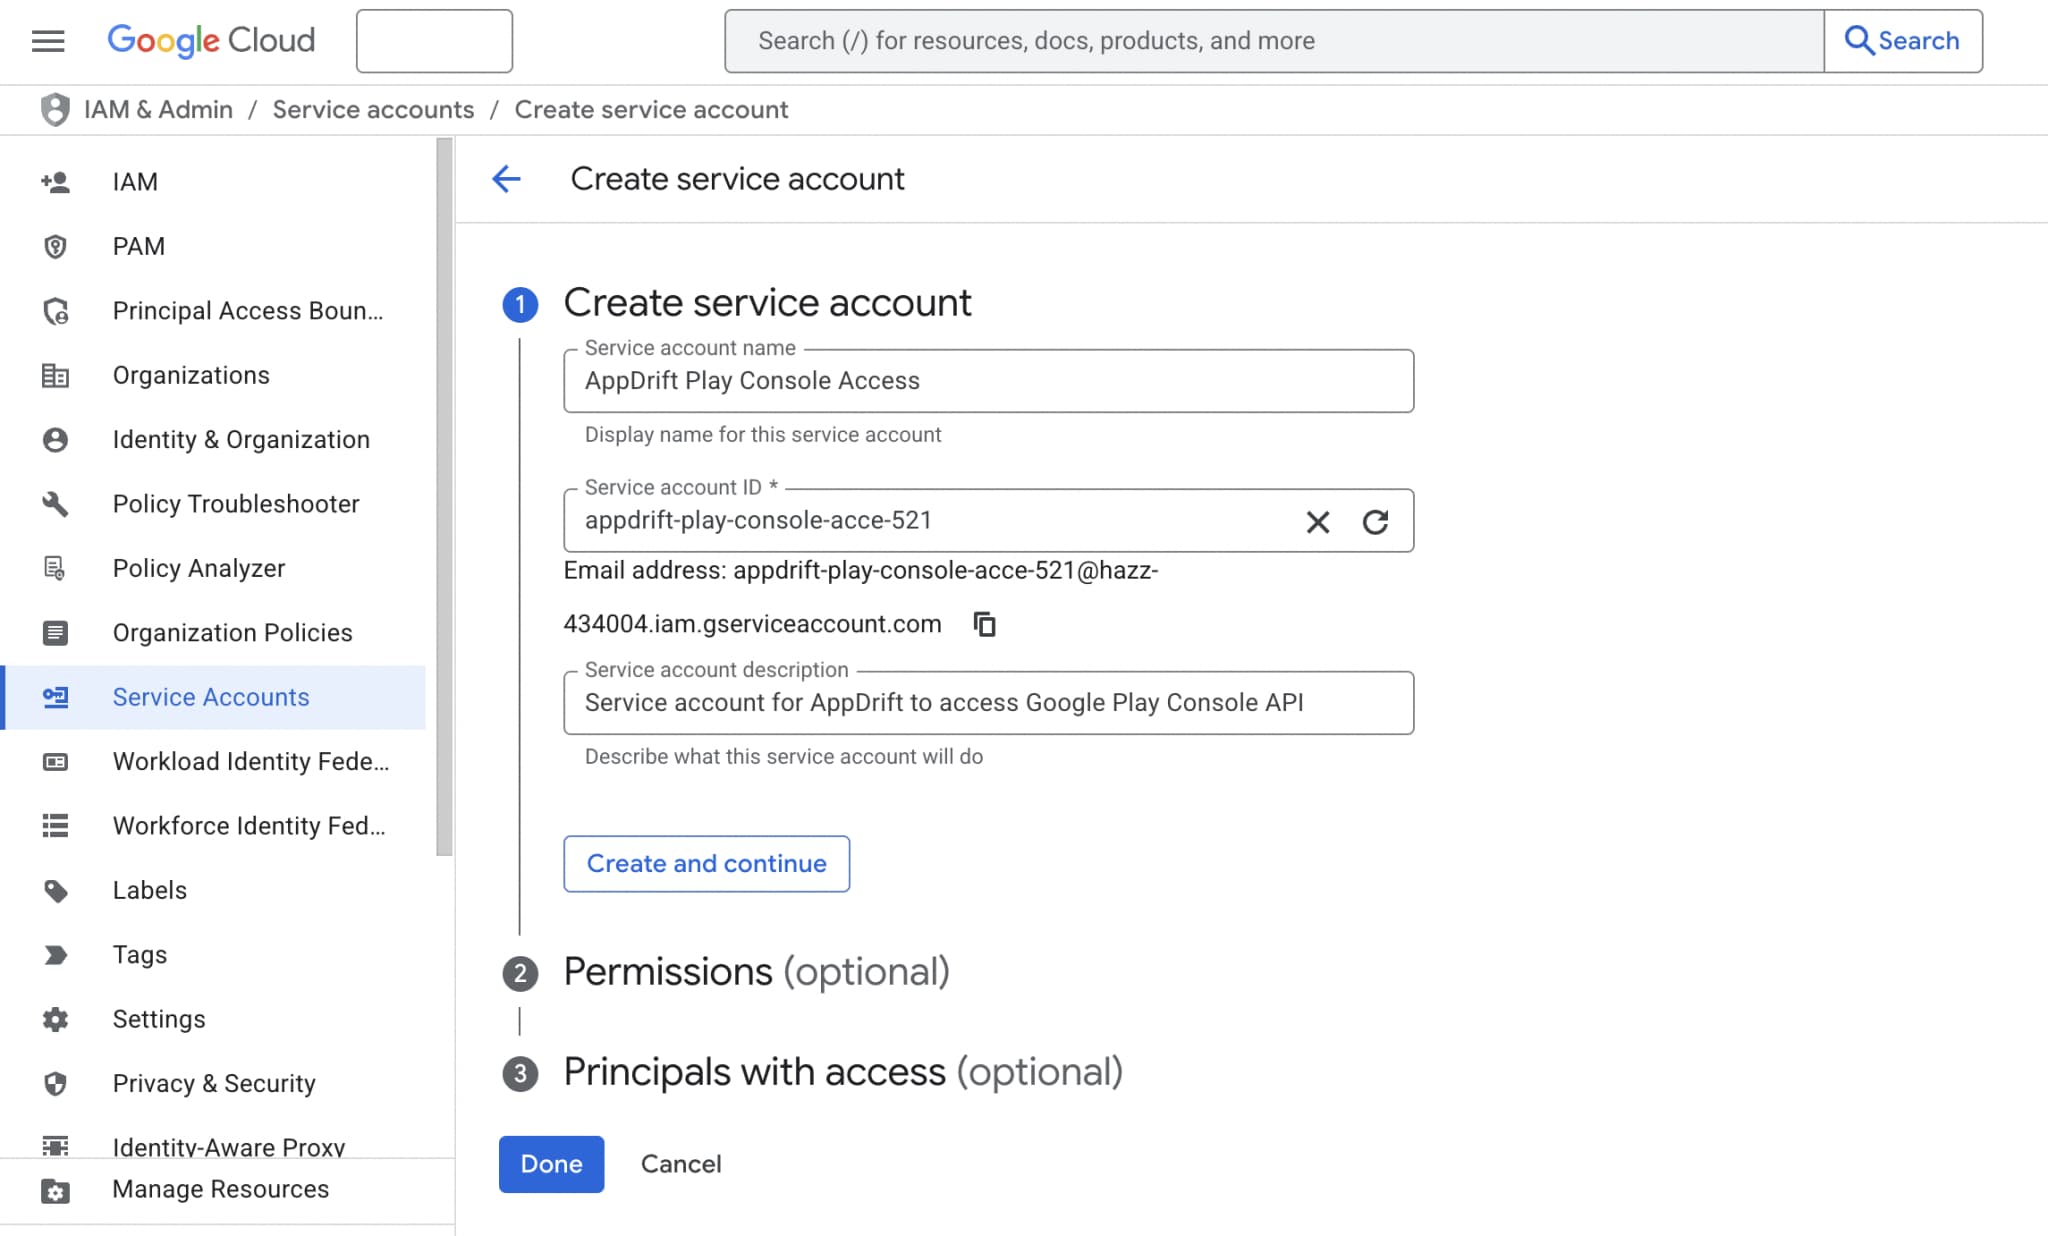
Create a Service Account
- Go to "IAM & Admin" → "Service Accounts"
- Click "Create Service Account"
- Fill in the service account details:
Service account permissions
When you reach Step 2 "Permissions (optional)" in the service account creation:
- 1.Leave the optional Google Cloud project role empty.
- 2.Do not grant Owner or Service Account Key Admin to the service account for this integration.
- 3.Click "Done" - you can skip Step 3 (Grant users access)
Grant access to the required apps and tasks separately in Play Console in Step 7. The person creating a key may need administrative permissions; the service account itself does not need those privileges.
Generate Service Account Key
- 1Click on the created service account to open its details
- 2Go to the "Keys" tab
- 3Click "Add Key" → "Create New Key"
- 4Select "JSON" format and click "Create"
JSON Key Downloaded
A JSON file will be automatically downloaded. Keep this file secure - you'll need it for AppDrift.
Part 2: Google Play Console Configuration
Access Google Play Console
Sign in to Google Play Console with your developer account.
Open Google Play Console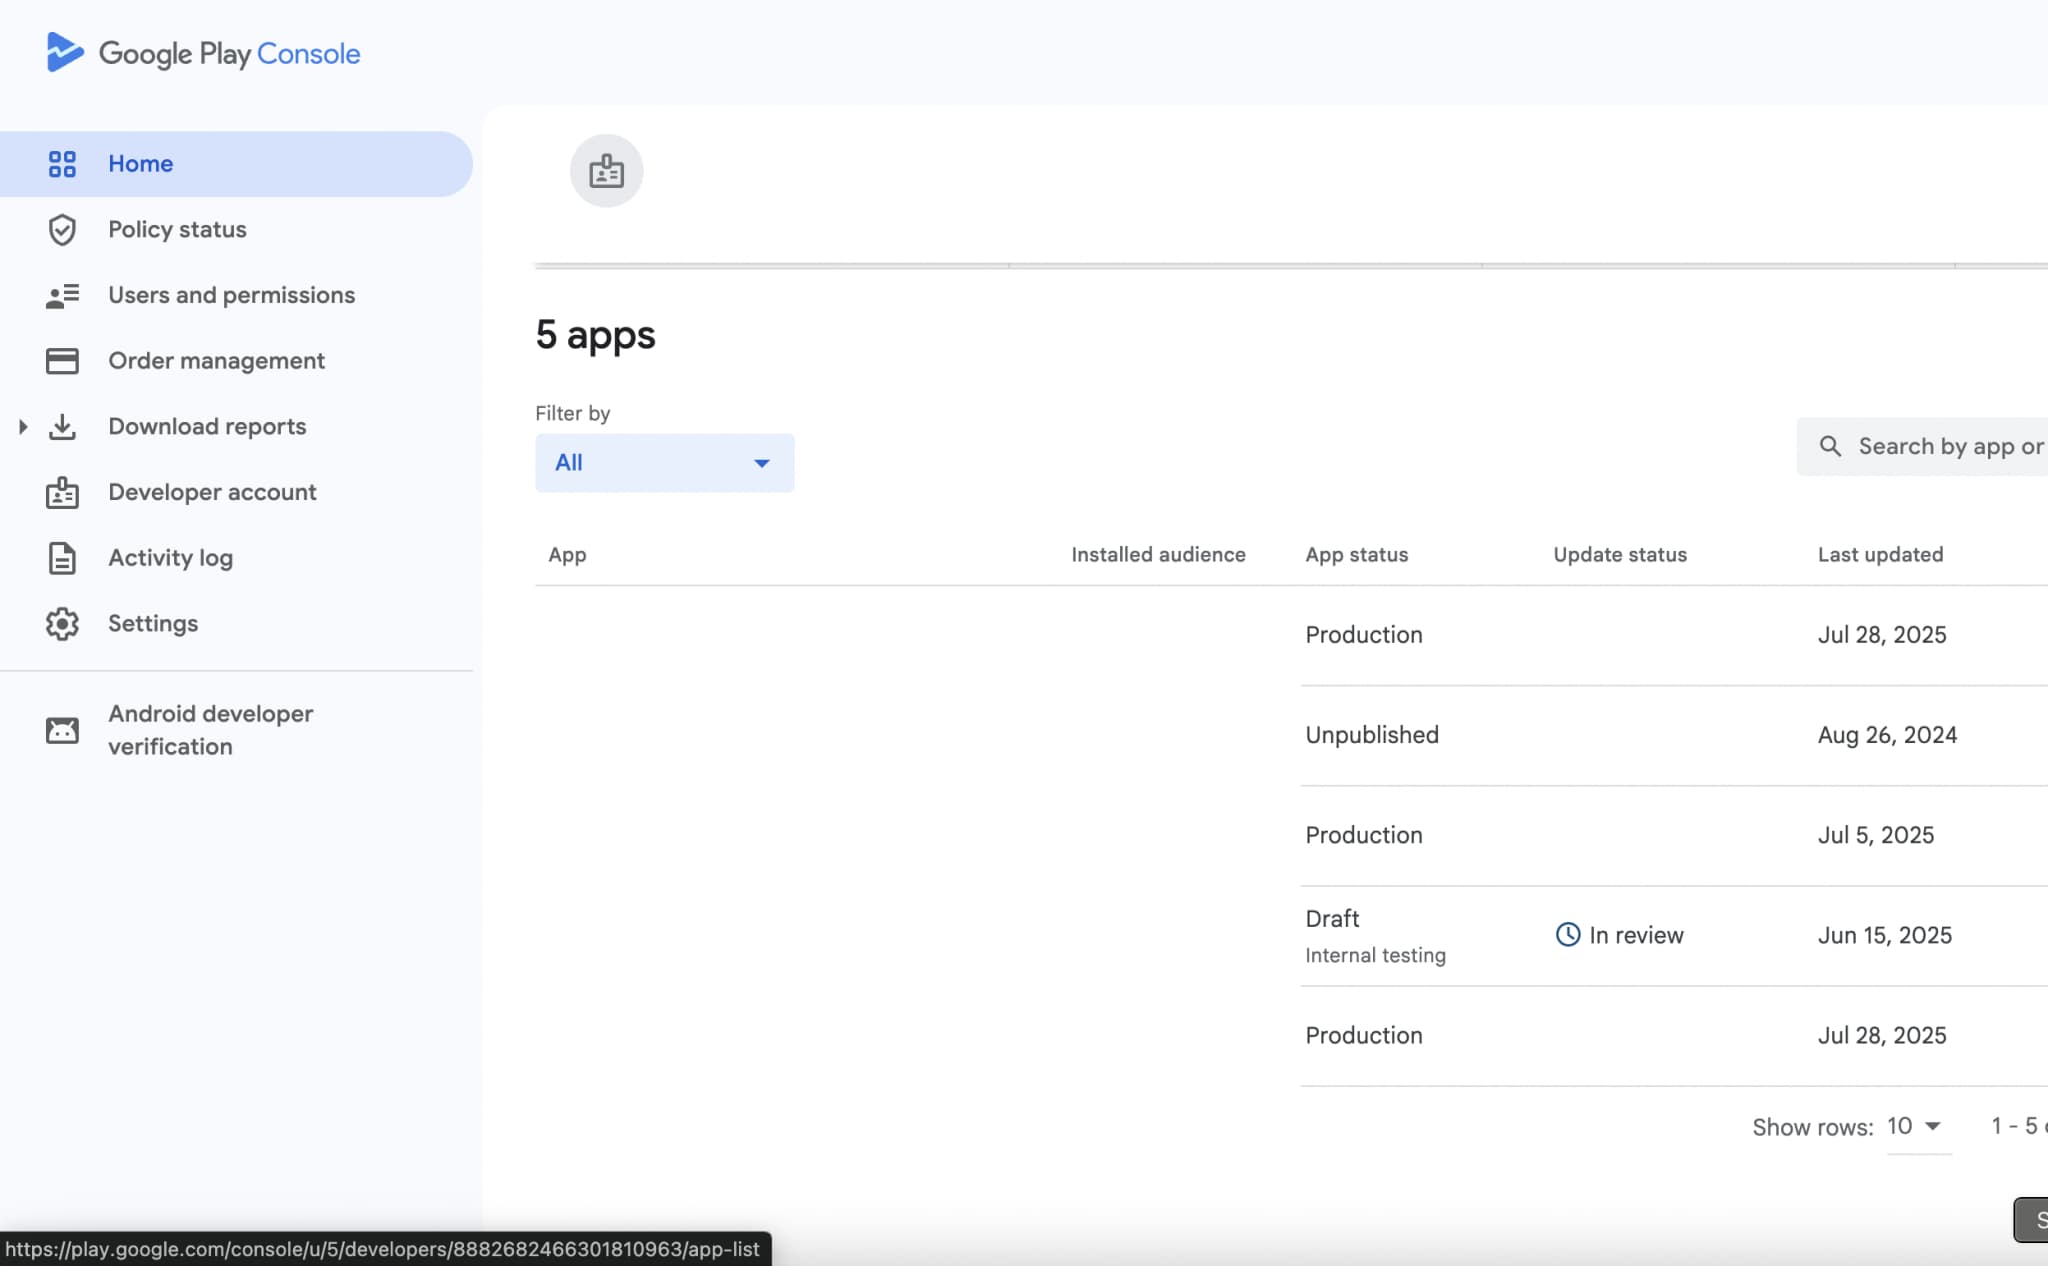
Link Service Account
- 1Go to "Users and permissions" in the left sidebar
- 2Click "Invite new users"
- 3Enter your service account email (found in the JSON file)
appdrift-play-console@your-project.iam.gserviceaccount.comYou can find this email in your downloaded JSON file under "client_email"
Grant Permissions
Account Permissions
Grant the following permissions to the service account:
App Access
Select the apps you want to use on AppDrift:
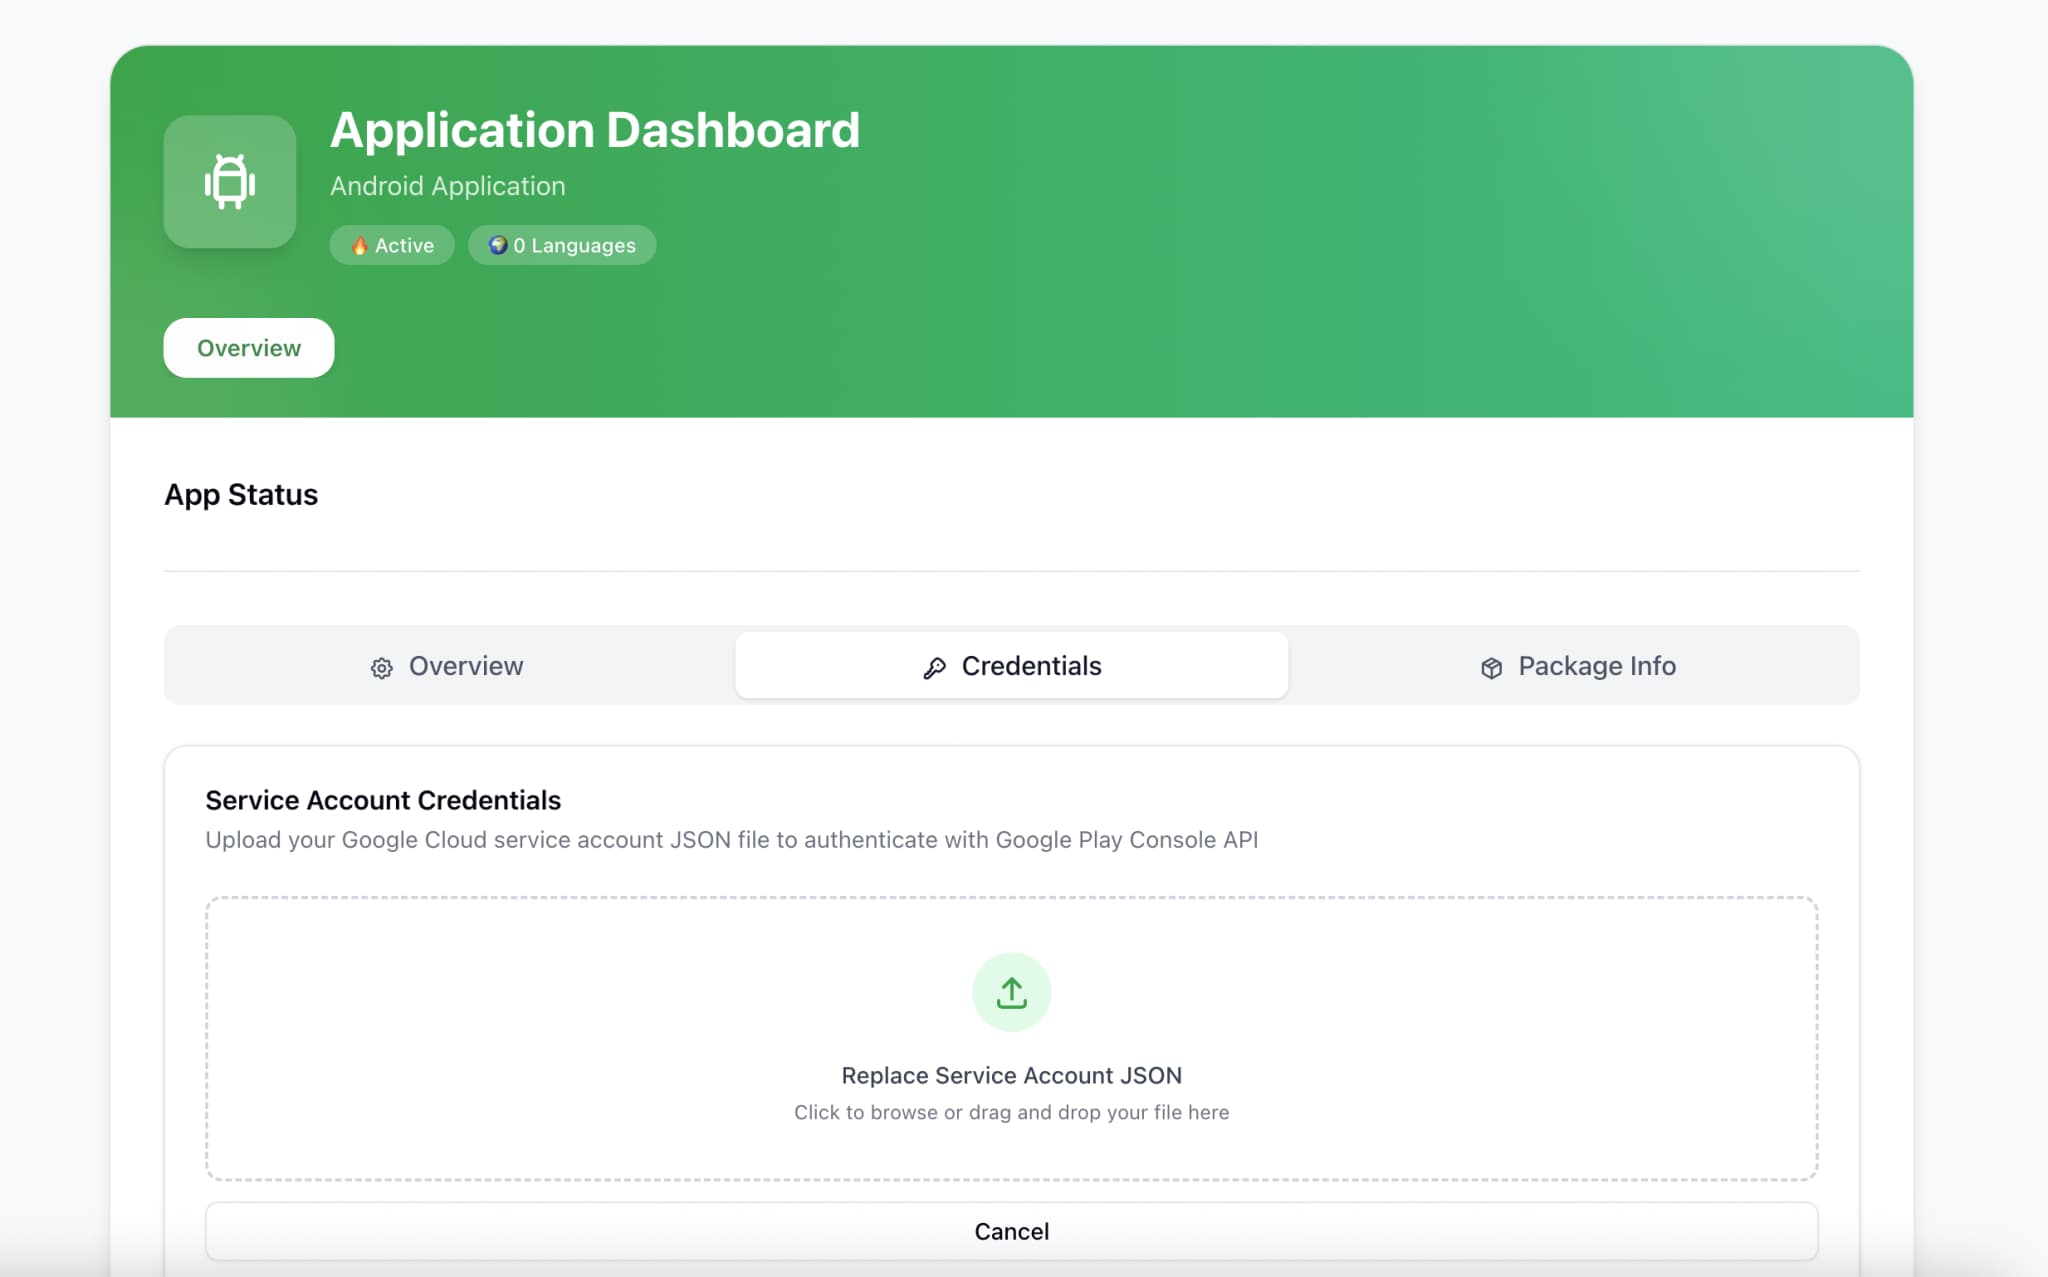
Add Credentials to AppDrift
- 1
Go to your AppDrift dashboard
- 2
Navigate to your Android app settings
- 3
Click on "Configure Google Play Console"
- 4
Upload the JSON file you downloaded from Google Cloud
- 5
Enter your app's package name
- 6
Click "Verify & Save" to test the connection
Security Best Practices
- Never share or expose your service account JSON file
- Grant only the minimum required permissions
- Regularly audit service account access and permissions
- Enable audit logging in Google Cloud Console
- Rotate service account keys periodically
Common Issues
"Permission denied" error
- • Verify the service account has been added to Google Play Console
- • Check that all required permissions are granted
- • Wait 24-48 hours for permissions to fully propagate
- • Ensure the API is enabled in Google Cloud Console
Cannot find service account email
The service account email is in your JSON file. Look for:
"client_email": "your-service-account@project.iam.gserviceaccount.com"API not found or not enabled
- 1. Go to Google Cloud Console
- 2. Navigate to "APIs & Services" → "Library"
- 3. Search for "Google Play Android Developer API"
- 4. Make sure it shows as "Enabled"
- 5. If not, click "Enable" and wait a few minutes
You're All Set!
Excellent! You've successfully configured Google Play Console API access. Here's what you can do next: