Back to Blog

Complete App Store Listing Workflow: Draft to Review

Prepare an App Store and Google Play listing with screenshots, metadata, keywords, localization, QA, and a verified handoff. Keep review and publication separate.

Apr 9, 2026Updated Sep 11, 202613 min
See the listing update workflow

Saving a draft does not publish it. Store sync requires a supported paid plan and connected credentials.

Complete App Store Listing Workflow: Draft to Review

A complete store listing needs coherent screenshots, accurate fields, relevant keywords, reviewed languages, and a verified store handoff. The outline below provides a preparation sequence. Existing assets may let you draft quickly; account setup, review, translation QA, and store approval take separate time.

It does not have to be this way. With the right workflow and tools, you can go from zero to a complete, professional, multilingual app store listing in 30 minutes. Not a rough draft: a finished listing with professional screenshots, ASO-optimized metadata, translations in your target languages, and deployment to both App Store and Google Play.

This guide walks through the exact workflow, minute by minute. Whether you are launching a new app or refreshing an existing listing, this is the fastest path to a store presence that actually converts.

The Listing Preparation Workflow

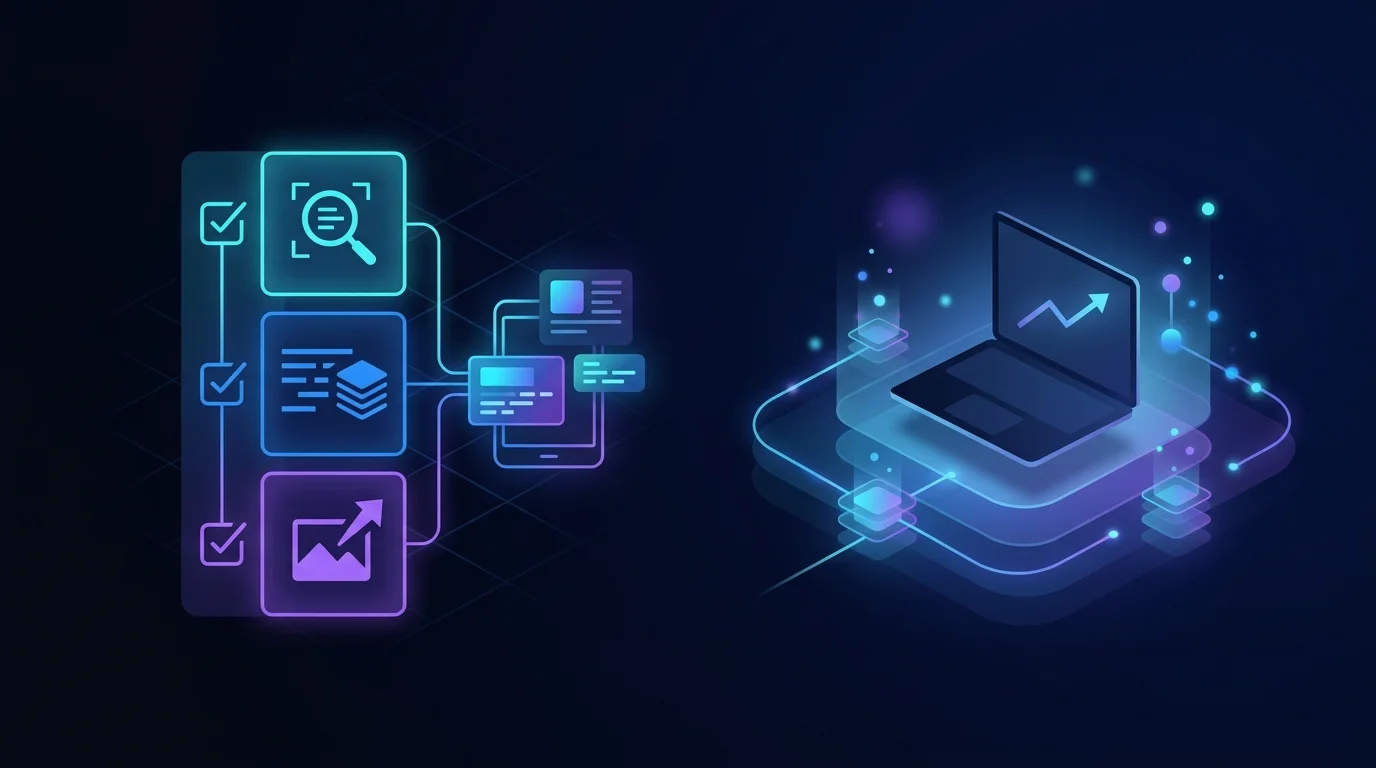
Before diving into each phase, here is the full timeline so you know what is coming:

  • Step 1: Create professional screenshots for all device sizes
  • Step 2: Generate ASO-optimized metadata (title, subtitle, description, keywords)
  • Step 3: Optimize your keyword strategy for App Store and Google Play
  • Step 4: Translate your metadata into target market languages
  • Step 5: Run a pre-launch quality check (character limits, compliance, screenshots)
  • Step 6: Publish to both stores across all countries

Each phase builds on the previous one. By the time you reach minute 30, your listing is live in multiple markets with professional content that is optimized for search and conversion. Let us break it down.

Step 1: Create Professional Screenshots

Screenshots help readers understand the actual app. Start with real captures of the core task and plan one clear benefit per screen. Their impact should be measured for your audience rather than assumed from a universal percentage.

Start with the actual product captures and choose a layout that explains them. A reusable template can reduce repeated design work; the time required depends on content, device sizes, and review.

Step 1: Capture your app screens. Take 6-8 screenshots of your app's key features and user flows on your device or simulator. Focus on screens that show: the core value proposition (what your app does), unique features (what makes it different), the user interface (what it looks like in action), and any social proof (ratings, user counts, achievements).

Open the screenshot editor. Choose a Free design or inspect the access label on a Pro collection. Add your own app captures and review the required export sizes before relying on the result.

Step 3: Add marketing elements. Use the drag-and-drop editor to add:

  • A headline above or below the device frame (e.g., "Track Your Habits Effortlessly")
  • Background color or gradient that matches your brand
  • Optional badges or callouts (e.g., "#1 Productivity App", "4.8 Stars")

Step 4: Batch export. Export your screenshots for all required sizes. App Store requires at minimum iPhone 6.7" screenshots. For full coverage, also export for iPhone 6.5", iPad Pro 12.9", and iPad Pro 11". Google Play requires screenshots for phone and optionally tablet. The batch export feature generates all sizes from a single design, saving you from manually resizing each one.

Five minutes. Six to eight professional screenshots, exported for every device size, ready for upload. No Photoshop, no design degree required. For deeper strategies on screenshots that actually drive downloads, read our guide on app store conversion rate optimization.

Step 2: Generate ASO-Optimized Metadata

Your metadata (title, subtitle, description, keywords, and promotional text) determines whether users find your app and whether they download it. Writing effective metadata from scratch is hard. You need to balance keyword density with readability, hit exact character limits, and craft a narrative that sells without sounding salesy. Most developers get stuck here for hours.

AI-powered metadata generation eliminates the blank-page problem entirely. Here is how to use it effectively in 5 minutes.

Step 1: Input your app context. Provide a brief description of what your app does, who it is for, and what makes it unique. This does not need to be polished copy: bullet points work fine. The AI uses this context to generate metadata that accurately represents your app.

Step 2: Select your brand voice. Choose from professional, casual, playful, or technical tone. This controls how the generated metadata reads. A meditation app should sound calm and reassuring. A developer tool should sound precise and capable. A social app should sound energetic and fun. The right voice increases conversion because it matches user expectations for your category.

Step 3: Generate for both platforms. The AI generates separate metadata optimized for each platform's requirements:

  • App Store: Name (30 chars), Subtitle (30 chars), Keywords (100 chars), Description (4,000 chars), Promotional Text (170 chars), Release Notes
  • Google Play: Title (30 chars), Short Description (80 chars), Full Description (4,000 chars), Release Notes

Each field is generated within its character limit, with keywords strategically placed for maximum ASO impact. The description follows a proven structure: hook (why the user should care), features (what the app does), social proof (if available), and call to action (download now).

Review and refine. Verify each generated feature, requirement, claim, and character limit. Give the review the time it needs; no fixed percentage of completion can be assumed from a draft.

The result: complete, platform-specific, character-limit-compliant metadata optimized for ASO. For more on writing descriptions that convert, check our detailed guide on how to write an app store description.

Step 3: Optimize Your Keyword Strategy

Keywords determine your visibility in search results. On the App Store, you have a dedicated 100-character keyword field. On Google Play, keywords are extracted from your title and description through natural language processing. Both platforms require different strategies, and getting keywords right can mean the difference between 100 downloads per day and 10,000.

iOS keyword strategy:

  • Use all 100 characters in the keyword field. Every unused character is wasted potential.
  • Separate keywords with commas, no spaces. This gives the algorithm maximum flexibility to combine terms.
  • Do not repeat words that already appear in your title or subtitle. Apple automatically indexes those.
  • Include singular forms only; Apple matches both singular and plural.
  • Prioritize keywords by search volume and relevance. Put high-volume, high-relevance terms first.
  • Include competitor names only if your app genuinely serves as an alternative (and check Apple's guidelines).

Google Play keyword strategy:

  • Google Play has no dedicated keyword field. Your keywords must appear naturally in your title, short description, and full description.
  • Repeat your most important keywords 3-5 times in the full description for stronger indexing, but avoid obvious keyword stuffing that reads unnaturally.
  • Use the short description (80 chars) for your top 2-3 keywords.
  • Google's algorithm is more sophisticated than Apple's at understanding synonyms and related terms, so write naturally.

How to choose keywords:

If you used AI metadata generation in the previous step, your keywords are already seeded. Now refine them by checking search volume and competition. Tools like AppTweak, Sensor Tower, or the keyword insights in your App Store Connect and Google Play Console analytics reveal which terms users actually search for in your category.

Focus on the sweet spot: keywords with moderate-to-high search volume and low-to-moderate competition. A keyword with 100,000 monthly searches and 500 competing apps will be harder to rank for than one with 10,000 searches and 50 competing apps. The second keyword will likely drive more downloads to your specific listing.

For a comprehensive keyword strategy, read our guide on how to choose app store keywords that covers research methods, competitive analysis, and ongoing optimization techniques.

Step 4: Translate to Target Markets

Choose a small set of supported locales based on demand and review capacity. Translation prepares drafts with token usage; review meaning and screenshot consistency before sending.

Step 1: Select target languages. If you are following a prioritization framework, start with Tier 1 markets: Japanese, Korean, German, French, and Portuguese (Brazil). Then add Tier 2: Spanish, Chinese (Simplified), Italian, Russian, and Turkish. If the marginal cost is near zero (which it is with AI translation), add all available languages.

Step 2: Run the translation. AppDrift's AI translation engine processes your complete listing into each target language. Unlike generic translation services, it understands app store context, conducts local keyword research for each language, respects character limits per locale, and adapts the tone for cultural fit. A description that works in English may need a different structure in Japanese (more detailed, feature-focused) or Brazilian Portuguese (more conversational and enthusiastic).

Step 3: Review high-priority markets. For your top 3-5 markets by expected revenue, spend a minute reviewing each translation. Look for accuracy of feature names, appropriateness of tone, and keyword placement. If you have native-speaking team members or friends, a quick sanity check adds confidence. For lower-priority languages, the AI output is ready to publish as-is.

Step 4: Localize screenshot captions (optional). If your screenshots include text captions, translate those too. This is particularly important for Tier 1 markets where users strongly prefer native-language content. Japanese and Korean users, for example, are significantly more likely to download apps with fully localized screenshots.

Step 5: Pre-Launch Quality Check

Before you hit publish, run through a systematic quality check. Catching issues now saves you from rejection, poor conversion, and embarrassing mistakes that go live to millions of potential users.

Character limit verification. Every metadata field has strict character limits that differ between platforms and sometimes between languages (because the same meaning requires different word counts in different languages). Verify:

  • App Store title: 30 characters (check all languages)
  • App Store subtitle: 30 characters (check all languages)
  • App Store keyword field: 100 characters (check all languages)
  • App Store description: 4,000 characters
  • Google Play title: 30 characters (check all languages)
  • Google Play short description: 80 characters (check all languages)
  • Google Play full description: 4,000 characters

If you used AI generation and translation, character limits should already be respected. But verify: certain languages (particularly German with its compound words and Japanese with its mixed scripts) can push boundaries.

Screenshot compliance. Verify each screenshot set meets the store requirements:

  • App Store: Minimum 3 screenshots for iPhone 6.7". Maximum 10 per device size.
  • Google Play: Minimum 2 screenshots. Maximum 8. JPEG or 24-bit PNG, minimum 320px, maximum 3840px on any side.
  • No screenshots should contain misleading information, prices in non-local currencies, or device frames that do not match the target device.

Content compliance. Both Apple and Google have content policies that can trigger rejection:

  • No references to "the best" or "#1" without verifiable evidence
  • No pricing information in descriptions (prices vary by market)
  • No placeholder text, Lorem Ipsum, or obviously machine-translated gibberish
  • No competitor names used in misleading ways
  • No promotional language about platform exclusivity that is inaccurate

Link validation. If your description contains URLs (allowed in Google Play descriptions, promotional text in App Store), verify they are working and lead to appropriate destinations.

AppDrift can send supported listing text to connected stores with paid access. Supported Apple screenshot uploads go to an App Store Connect draft after setup; Google Play screenshots are exported for manual upload. Saving, sending, app review, and public availability are separate states. Binary upload and code signing remain in your build workflow.

Step 6: Prepare the Store Handoff

Your screenshots are ready. Your metadata is optimized. Your translations are complete. Your quality check passed. Now it is time to go live.

The manual approach to publishing involves:

  1. Log into App Store Connect
  2. Navigate to your app
  3. For each language: select the locale, paste the title, paste the subtitle, paste the keyword field, paste the description, paste the promotional text, upload screenshots
  4. Repeat for every language you support
  5. Save and submit
  6. Log into Google Play Console
  7. Repeat the entire process for Google Play's field structure

For 20 languages, this takes 4-8 hours. For 40 languages, you can lose an entire day.

With AppDrift's supported listing sending, the process is:

  1. Review your metadata across all languages in the dashboard
  2. Select which countries and stores to deploy to
  3. Click "Publish"

That is minute 30. Your app store listing is live across multiple markets with professional screenshots, ASO-optimized metadata, and culturally adapted translations. What used to take days is done in half an hour.

For teams publishing to multiple stores for the first time, our comprehensive guide on how to publish to Apple App Store and Google Play walks through the entire process including account setup, app review, and compliance requirements.

After Launch: What to Monitor

Publishing is not the finish line. It is the starting line. The first 48 hours after launch (or after a major listing update) are critical for understanding how your listing performs and identifying optimization opportunities.

First 48 Hours

Impression-to-download conversion rate. This is the single most important metric for your listing quality. If people see your listing (impressions) but do not download (installs), something is wrong with your screenshots, title, or description. A healthy conversion rate varies by category, but generally:

Check selected keywords in the correct store and country. New data can be sparse or delayed; absence after 48 hours does not establish a defective strategy. Keep dates and traffic context with your observations.

Crash reports. While not directly related to your listing, a spike in crash reports after release will tank your conversion rate as negative reviews accumulate. Monitor crash analytics (Xcode Organizer, Firebase Crashlytics, or equivalent) and issue a hotfix if needed.

First Week

Download trends by market. If you launched in multiple languages, compare download trends across markets. Which languages are driving the most installs? Are there markets that show impressions but low conversion (potential listing quality issue)? Are there markets with zero traction (potential keyword relevance issue)?

Rating and review velocity. Early ratings disproportionately affect your listing's credibility. If you are getting early negative reviews, respond quickly and address the underlying issues. If reviews are positive, consider implementing a review prompt at an appropriate moment in the user journey.

Competitor positioning. Check your ranking relative to competitors for your primary keywords. If a competitor outranks you despite having an older or lower-rated app, study their listing for clues about keyword usage, screenshot strategy, or description structure that might explain their advantage.

Ongoing Optimization

Your listing is a living document, not a set-and-forget asset. Plan to update it in the following scenarios:

  • Every major release: Update screenshots to show new UI and features. Update description to highlight new functionality. Update release notes.
  • Quarterly keyword review: Search trends change over time. Keywords that were relevant 6 months ago may have shifted. Review and update your keyword strategy at least quarterly.
  • Seasonal opportunities: If your app has seasonal relevance (fitness in January, tax apps in March, travel apps in summer), update your promotional text and description to capture seasonal search traffic.
  • Competitive responses: If a competitor launches a strong new feature or runs a major campaign, update your listing to differentiate or respond.

The AppDrift platform makes ongoing updates painless: regenerate metadata, push translations, and republish: all from the same dashboard you used for launch. Check our full ASO checklist for 2026 for a comprehensive ongoing optimization framework.

The Complete Toolkit Recap

Here is a summary of every tool and resource referenced in this workflow:

  • Screenshots: AppDrift Screenshot Generator (free, all device sizes, no watermarks)
  • Metadata: AppDrift Metadata Generation (AI-powered, both platforms, brand voice control)
  • Translation: AppDrift Metadata Translation (60+ languages, cultural adaptation, local keywords)
  • AppDrift can send supported listing text to connected stores with paid access. Supported Apple screenshot uploads go to an App Store Connect draft after setup; Google Play screenshots are exported for manual upload. Saving, sending, app review, and public availability are separate states. Binary upload and code signing remain in your build workflow.
  • AppDrift has Free plus Basic $9.99/month, Pro $19.99/month, and Studio $39.99/month. Free accounts receive 50 signup tokens once; AI work uses tokens, and translation is not unlimited. Check the current plan limits and the quote for the selected work.

The workflow described in this guide is not theoretical. It is the exact process used by thousands of developers to launch and maintain their app store listings. Over 10,000 screenshots have been created with the generator alone. The difference between a 30-minute workflow and a 3-day workflow is not hustle or skill. It is tooling.

Stop spending days on your store listing. Spend those days building the features your users actually want.

FAQ

Can I really complete an app store listing in 30 minutes?

Preparation time depends on the app, assets, locales, review, and existing setup. Time your own draft and validation work. A thirty-minute preparation session is a planning timebox, not a promise of complete translation, review, or publication.

Do I need separate listings for App Store and Google Play?

Yes, but the differences are manageable. App Store requires a title (30 chars), subtitle (30 chars), keyword field (100 chars), and description (4000 chars). Google Play requires a title (30 chars), short description (80 chars), and full description (4000 chars) but has no separate keyword field. The biggest difference is screenshots: each store has different device size requirements. Tools like AppDrift generate metadata for both formats simultaneously and export screenshots in all required sizes.

How many screenshots do I need for a complete app store listing?

Apple requires screenshots for at least the iPhone 6.7-inch display. For full coverage, you should provide screenshots for iPhone 6.7-inch, iPhone 6.5-inch, iPad Pro 12.9-inch, and iPad Pro 11-inch. Google Play requires a minimum of 2 screenshots but recommends 8. For both stores, the sweet spot is 6-8 screenshots per device size that tell a clear story about your app features and benefits. Screenshot generators can batch-export all sizes from a single design.

What should I monitor in the first 48 hours after publishing?

Focus on three things: impression-to-download conversion rate (are people who see your listing actually downloading?), keyword rankings for your target terms (are you appearing in search results?), and crash reports (did the release introduce any stability issues?). If your conversion rate drops compared to the previous version, your screenshots or description may need revision. If keyword rankings do not appear within 48 hours, your keyword strategy may need adjustment.

Should I localize my listing into multiple languages before launch?

Yes, if possible. Launching with multiple languages from day one means your app starts accumulating downloads and reviews in those markets immediately. This builds momentum faster than adding languages later. With AI translation tools, you can add 60+ languages in the time it previously took to handle one. At minimum, launch with Tier 1 languages (Japanese, Korean, German, French, Portuguese) in addition to English to capture the highest-value non-English markets from the start.

Sources and platform references

Put this guide into practice

Bring the next listing update into one workspace

Prepare edits, review translations and collect optional approval before sending a listing to the store.

See the listing update workflow

Saving a draft does not publish it. Store sync requires a supported paid plan and connected credentials.

Keep a checklist for your next release

Get the ASO checklist by email and subscribe to AppDrift listing tips. Free; unsubscribe anytime.